At Eclipse Automotive Technology, we are pleased to work alongside YouTuber trucktechuk, who regularly posts videos showing how Jaltest aids in fixing a variety of vehicle faults.
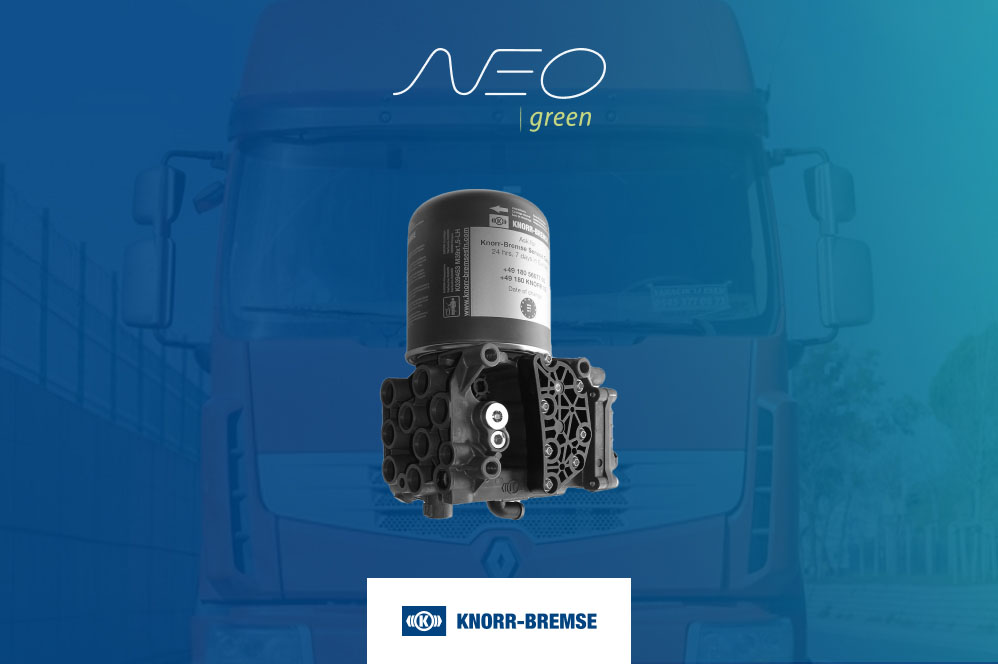
In his latest video, he explains how Jaltest software allowed him to program a new Air Processing Unit into his Renault truck through KNORR-BREMSE NEO GREEN software.
After being contacted by a customer about programming a Renault premium Air Dryer, he found that the dash was going crazy and the air pressure gauge wasn’t working, so further investigation was required to resolve the issue.
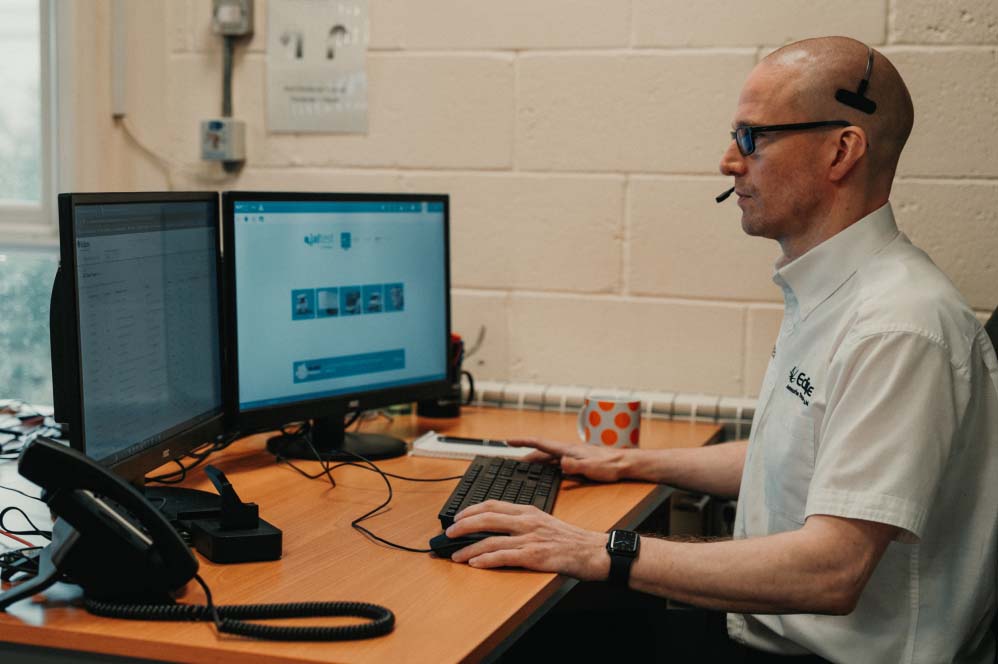
Enter Eclipse Diagnostics and, after a remote install and quick firmware update, KNORR-BREMSE dealer software was made accessible, allowing trucktechuk to program the new unit.
In the video, he highlights:
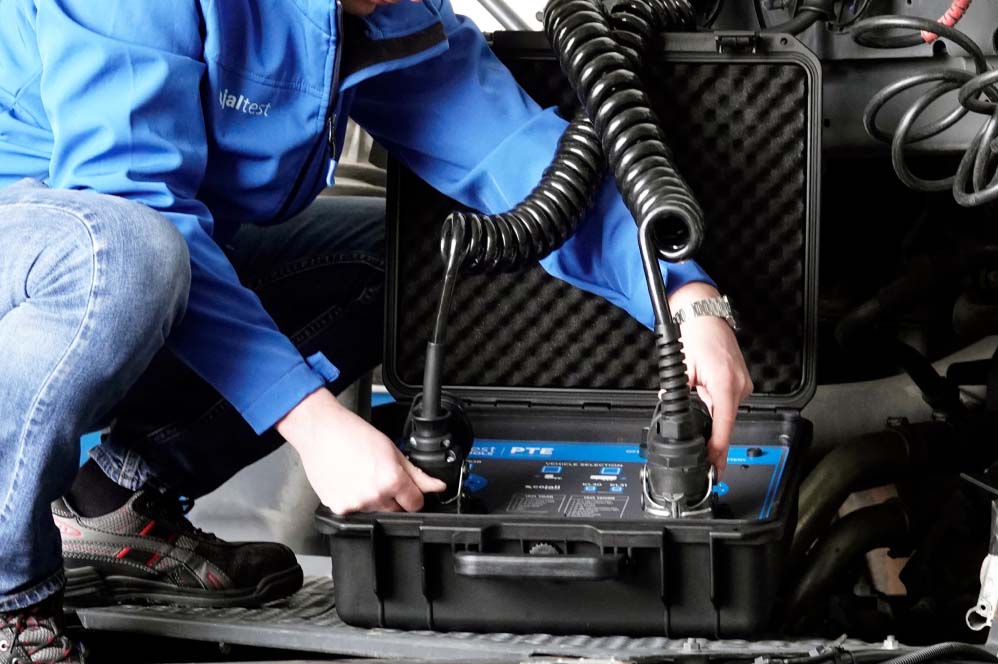
- The advantages of buying diagnostic software from Eclipse Automotive Technology, including the fact that no extra hardware needed to be purchased to resolve the issue (works with the Jaltest Link).
- How Neo Green software allowed him to program the new unit, including step-by-step instructions.
- The great new features available within Jaltest 24.1 when bought through Eclipse Automotive Technology, including Jaltest Central Services.
Here is an overview of the steps outlined in this video of how Russell programmed an APU unit on a Renault Premium truck:
- Make sure the old APU ECU is plugged in (as we need the data tables from it).
- Open NEO Green Diagnostics software and navigate to the “applications” menu icon (6th icon at the top). Then you will see a screen showing all the available systems you can interface with in NEO Green. Click “EAC – Electronic Air Control”. Then on the next screen, click “EAC1”.
- On the next screen, it will prompt you to turn the ignition off.
- Then, it will ask you to select a diagnostic adapter. You can select the first option “EOBD” which is the standard diagnostic plug that comes with the Jaltest Link.
- Now, plug in the Jaltest Link into the vehicle’s OBD port.
- After that, the software will prompt you to turn the ignition on.
- You’ll then be asked to plug the Jaltest Link into the computer’s USB port and on the next screen, the system will now connect to the air drier and identified configuration.
- Continue through the next two screens by clicking the forward arrow at the bottom right of the interface. Go past the vehicle data saving screens and fault code screen, until you get to a screen asking you if you want to save the ECU configuration. Click “yes”.
- After this, it will ask you for a VIN number. Enter this into the text box and click “save”. It will now save the configuration file for later.
- With this done, we’re now finally at the testing menu. Click “replace ECU”.
- Click “yes” when it asks you if you want to replace the ECU. NEO Green will now read the data.
- You will now be prompted to turn off the ignition and connect the new EAC.
- With the old ECU removed, plug in the new EAC unit.
- Turn the ignition on.
- NEO Green will now write the old data set to the new EAC.
- With that completed, the software will check for fault codes and will now prompt you to install the new EAC.
- Once installed, the process is complete.
Watch the full video here:
If you’re interested in NEO Green (Knorr-Bremse dealer software), learn more here.
Stay ahead of the game with Jaltest diagnostic software, available today at Eclipse Automotive Technology.