





When a DAF truck can no longer complete a DPF regeneration on its own, you’ll usually see a dashboard warning and find soot-loading related fault codes stored in the Aftertreatment system. At this stage, a forced (service) DPF regeneration is often the next step to restore normal operation, as long as the underlying cause of the soot build-up has been addressed.
This guide walks you through the process using Jaltest Diagnostics with a DAF CF (F7/BH series) example. Menu names can vary slightly depending on model year and ECU generation, but the workflow is broadly the same.

What a forced DPF regeneration is (and when you should use it)
A diesel particulate filter (DPF) captures soot (particulate matter) from the exhaust so the vehicle can meet emissions requirements. Regeneration is the process of raising exhaust temperatures to burn that soot away. If the vehicle’s driving pattern does not allow the system to reach the required temperatures—or faults prevent the process—soot load can climb until the vehicle requests a workshop/service regeneration.
Modern systems can also command an ECU-driven regeneration cycle when required (as supported in Jaltest’s aftertreatment technical materials).
Before you start: safety and preparation (read this first)
Important: During regeneration, exhaust components can become extremely hot (often in the region of 600–700°C during active/forced regen). Treat the vehicle and surrounding area as a high-temperature hazard.
Use this preparation checklist:
- Park the vehicle outdoors or in a well-ventilated area, away from flammable materials.
- Apply the parking brake and follow your workshop’s safe-working procedures (wheel chocks if required).
- Ensure stable battery voltage (use a battery support unit if needed).
- Confirm engine oil and coolant levels are correct.
- If the vehicle has obvious aftertreatment faults (temperature sensors, differential pressure sensor, AdBlue/DEF issues, intake/exhaust leaks), fix them first—otherwise the regen may abort.
Tools required
To follow this guide you’ll need:
- Jaltest CV Diagnostics (truck module)
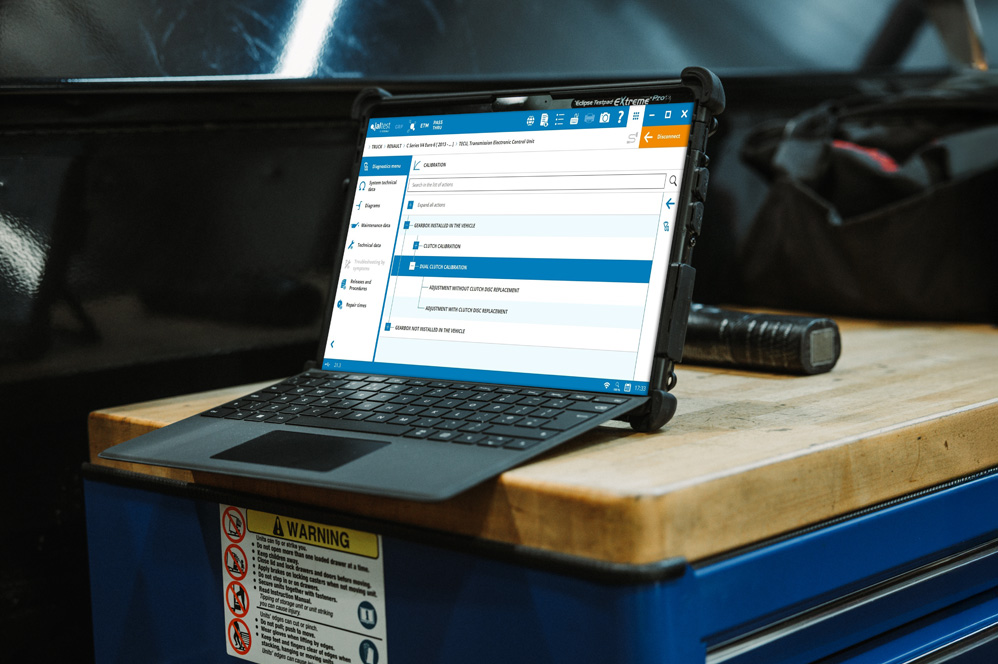
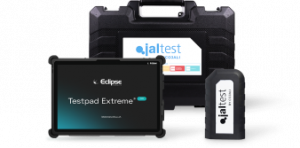
- A compatible Jaltest interface (e.g., Jaltest Link) connected to your laptop/tablet
- The correct DAF lead (shown here using JDC 213.9 16-pin EOBD)
Step-by-step: forced DPF regeneration in Jaltest (DAF example)
1) Select the vehicle in Jaltest
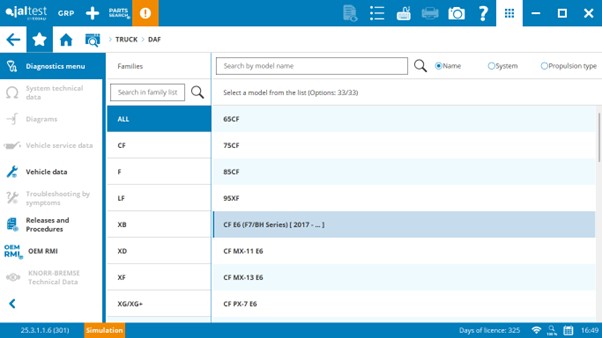
Open Jaltest Diagnostics, choose Truck, then select DAF and the correct family/model (example shown: CF F7/BH).
2) Connect using the correct cable and confirm the diagnostic socket location
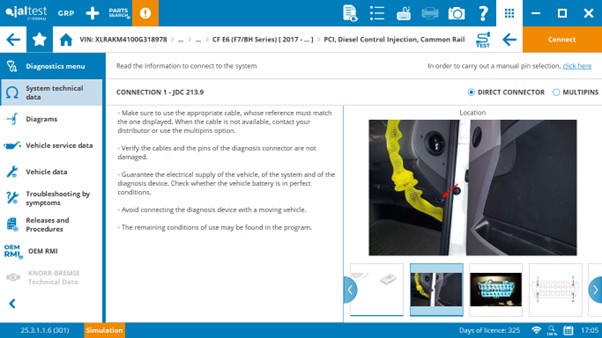
In this example, the JDC 213.9 16-pin EOBD cable is used. Jaltest can also show the diagnostic socket location on the vehicle—use this to avoid wasted time searching around the cab.
3) Enter the antipollution / aftertreatment system (EAS-4)
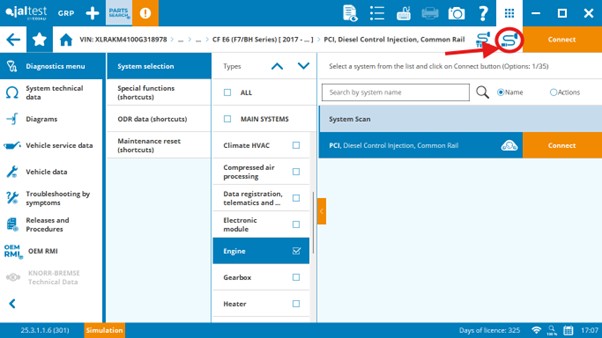
To perform a DPF regeneration, you must connect to the aftertreatment (antipollution) ECU. In this example, it is listed as EAS-4 (Exhaust gas treatment system).
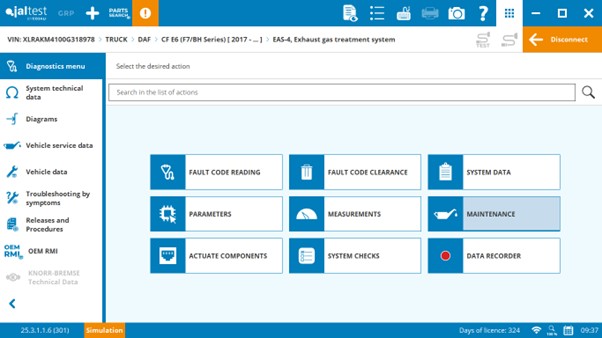
DAF commonly refers to the aftertreatment assembly as the Emission Aftertreatment System (EAS), which houses major components involved in emissions reduction.
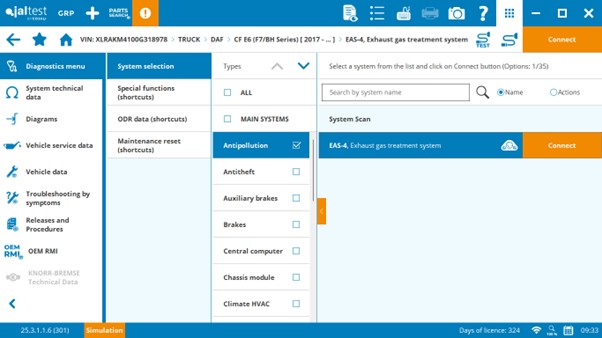
4) Open the Maintenance menu
From the ECU diagnostics screen, go to Maintenance. Jaltest places service routines (including DPF/particulate filter functions) within this section.
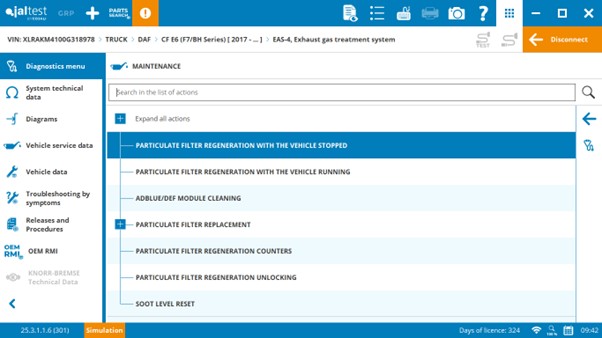
5) Select “Particulate filter regeneration with the vehicle stopped”
Choose Particulate filter regeneration with the vehicle stopped (as shown). Depending on the ECU/software version, you may also see similar routines (e.g., regen with vehicle running). Use the routine that matches Jaltest guidance for that ECU and your workshop set-up.
6) Accept Expert Mode and read the procedure notes
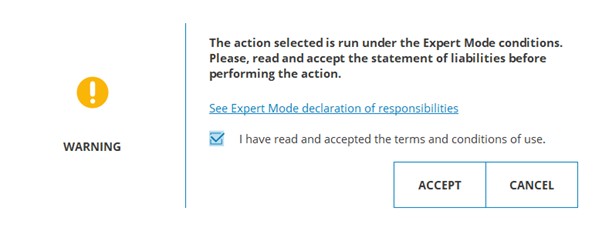
Jaltest will prompt for Expert Mode conditions. Read and accept the terms, then review the notes carefully before starting.
7) Confirm all initial conditions (this is the most common reason a regen won’t start)
Before Jaltest allows the regen to begin, it presents a checklist of initial conditions. These are critical. If any requirement is not met, the function may refuse to start or abort part-way through.
Typical requirements include (as shown in your example):
- Vehicle stopped
- Parking brake applied
- Engine at idle
- Pedals released
- Coolant temperature within a specified window

8) Start the regeneration and monitor live data
Once conditions are met, press the tick/confirm to start. The ECU will raise exhaust temperatures and run the regeneration automatically.
How long does it take?
Time is vehicle-dependent and can take up to around an hour in some cases (your example notes up to 60 minutes). More generally, forced regens often sit in the ~45-minute range, but it varies by vehicle and soot load.
During the process:
- Keep the area clear
- Do not touch the exhaust/aftertreatment components
- Do not interrupt unless necessary for safety

9) Switch between viewing modes (useful for diagnostics)
Jaltest provides two viewing modes once regeneration is running:
- A list view of key parameters (status, RPM, stages, temperatures)
- A system display view that visualises the aftertreatment components and operating states
This second view is also useful for fault-finding because it helps you understand what the system is doing and whether sensors appear plausible.
Option 1:
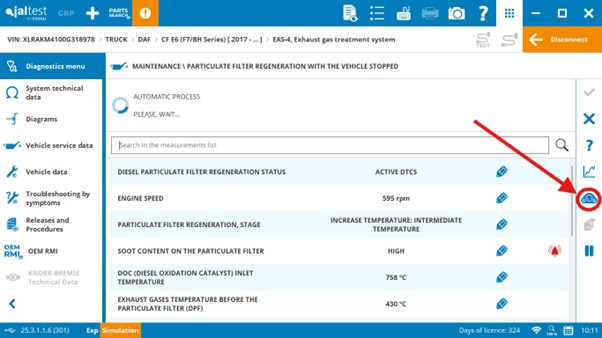
Option 2:

10) Allow a cool-down idle at the end
When the regen completes, let the vehicle idle for around five minutes to stabilise temperatures (cool-down). This helps the system normalise before shutdown or a road test.
Common reasons a forced regen won’t start (and what to check)
If Jaltest refuses to start the routine—or stops part-way through—these are the most common causes:
- Initial conditions not met (coolant temperature out of range, parking brake not applied, pedal input detected)
- Battery voltage unstable
- Active fault codes affecting aftertreatment (temperature sensors, differential pressure sensor, dosing/AdBlue/DEF faults, intake/exhaust leaks)
- Soot/ash load too high for a normal regeneration (may require off-vehicle cleaning or DPF replacement rather than repeated regen attempts)
- Vehicle interlocks depending on configuration (doors open, PTO conditions, brake/clutch signals)
After the regeneration: what to do next
Once the routine finishes:
- Re-check fault codes (stored and pending) and address any that return
- Review key readings (e.g., differential pressure plausibility, temperature sensors)
- Carry out a short road test where safe to confirm the warning clears and the system returns to normal operation
Buy Jaltest diagnostics for DAF at Eclipse
If you want to add (or upgrade) Jaltest Diagnostics in your workshop, Eclipse supplies Jaltest diagnostic equipment that covers all DAF vehicles, including support for key aftertreatment functions like DPF regeneration.